Stitching
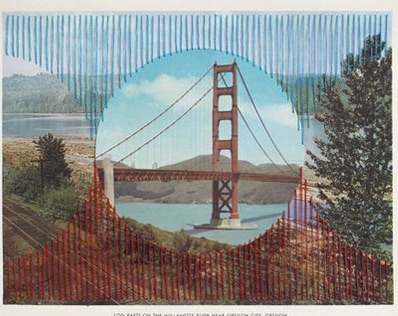
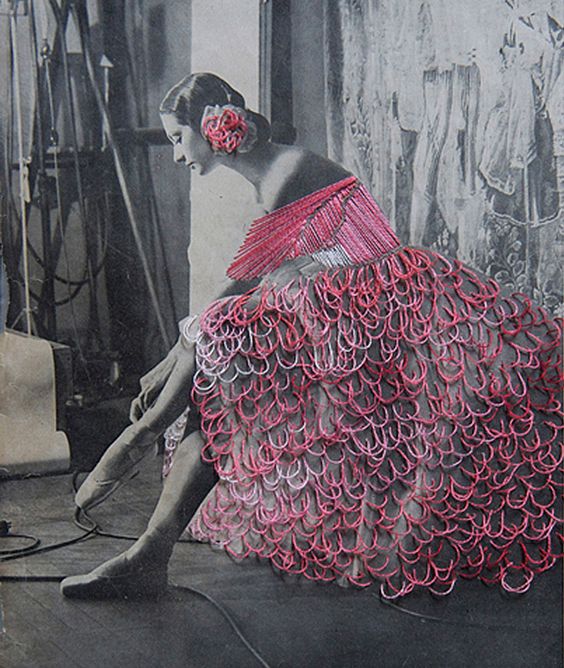
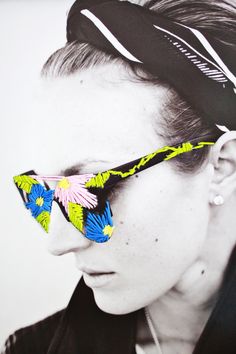
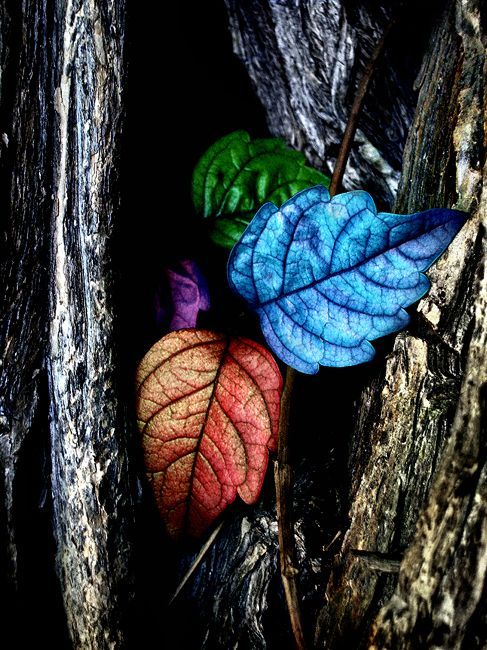
You should have 2 5x7 photos that you plan to stitch. You can stitch directly over lines or shapes that are already present in the photo- like stitches on a softball or a pattern on a dress, or you can add stitching to ehance the photo in your own way- like adding patterns to a shirt, stitch lines onto a leaf to imitate viens.
Stitch the design onto your photo:
-cut down photo (with a neat white border or no border)
-Tie a knot on the back to start or tape it down.
-Use your needle to plan out the path of your stitching as you go (rather than poking blindly through the back of the photo).
-when complete, tie or tape the back when completed
-have your name and period on the back. Turn in for a grade!

|
|
|
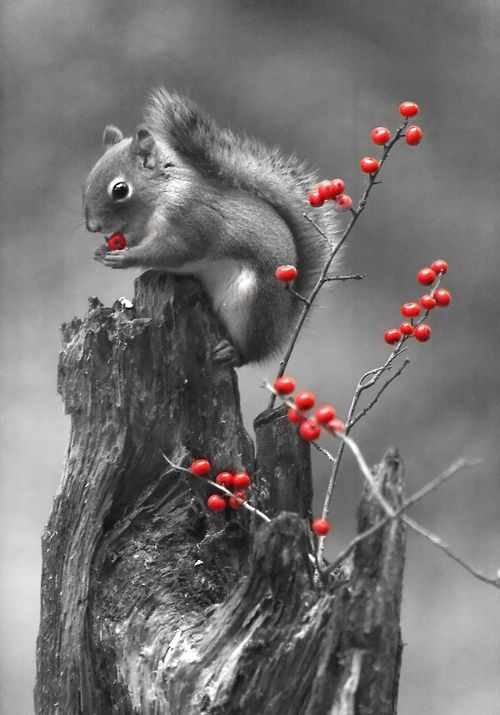
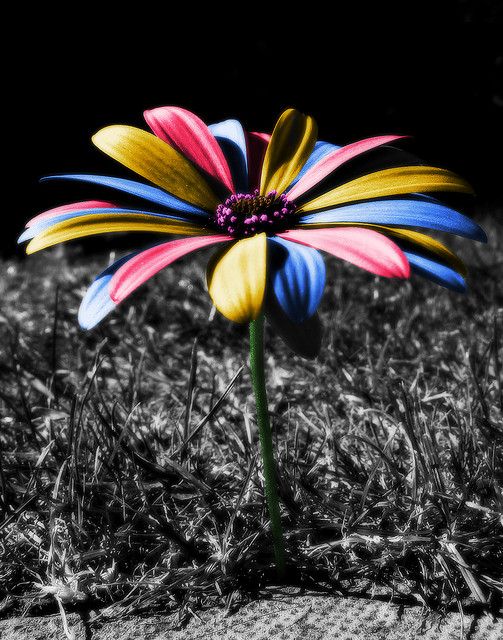
Hand Coloring
What did artist do before Photoshop to selectively color? They painted directly onto a black and white photograph! There are a lot of different methods for this, and one isn't necessarily better than another. We are going to print our photos onto a matte paper, and then hand paint selected areas with watercolors or watercolor pencils.
1. Cut down the photos to a thin white border or no border at all (your preference).
2. TEST colors onto a separate paper to check for accuracy- Be aware that water colors get deeper and more intense the longer the water sits on the color in the tray! To get the color lighter, use more water, less paint. Use mixing trays to blend colors prior to putting onto paper.
*If you plan to use water color pencils, do so first before the paper is wet. Do not attempt to work pencils into an already wet area of the paper. It can rip. Wait until it is dry and add the pencil.
*You do not need to paint the whole paper. Touches of color, similar to selective coloring, is fine. Ultimately up to you how much you paint.
3. Turn in with your name on the back when completed.

|
|

|
|
|
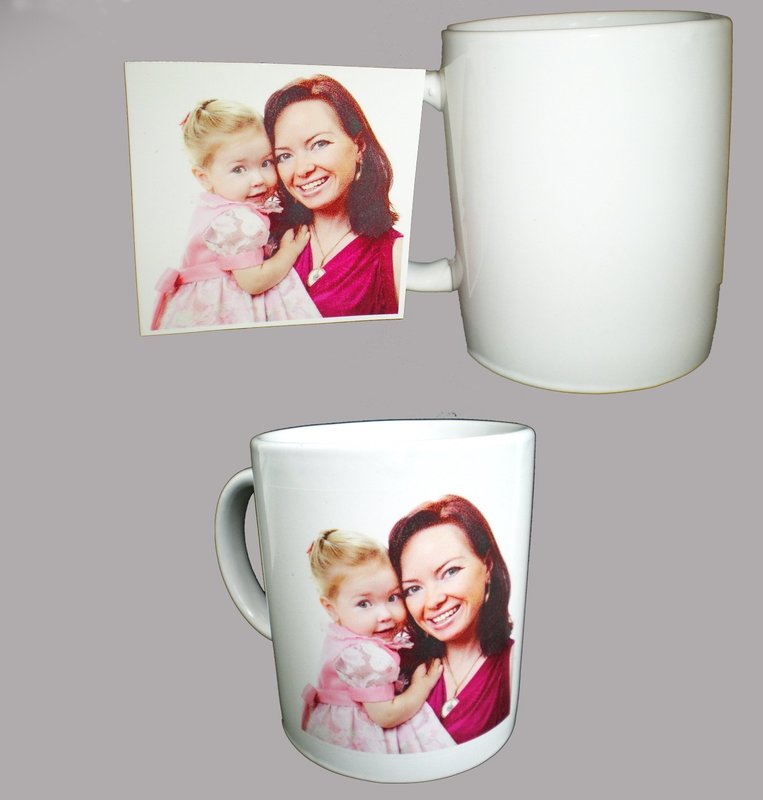
Decal
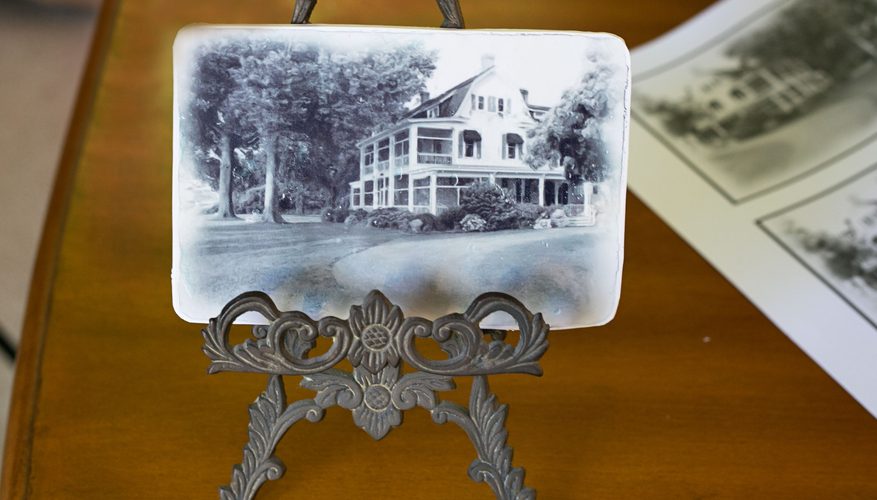
We will transfer the photos to another a tile surface (unless you brought your own object in). I will call a group of you at a time to do this.
1. Put your photo into the water and hold the edges so it doesn't curl up. Keep in water for about 30 seconds.
2. Slide the decal off the backing and carefully lay onto the tile. Adjust the placement as needed
3. Use a paper towel and gently rub the bubbles away from the center outward until they are gone.
4. Let dry!
*If you plan to use the tile for functional purposes, you may want to put spray acrylic on it. Talk to me about that! *
|
|
