Double Exposure
|
|
Compose an artistic image though double exposure
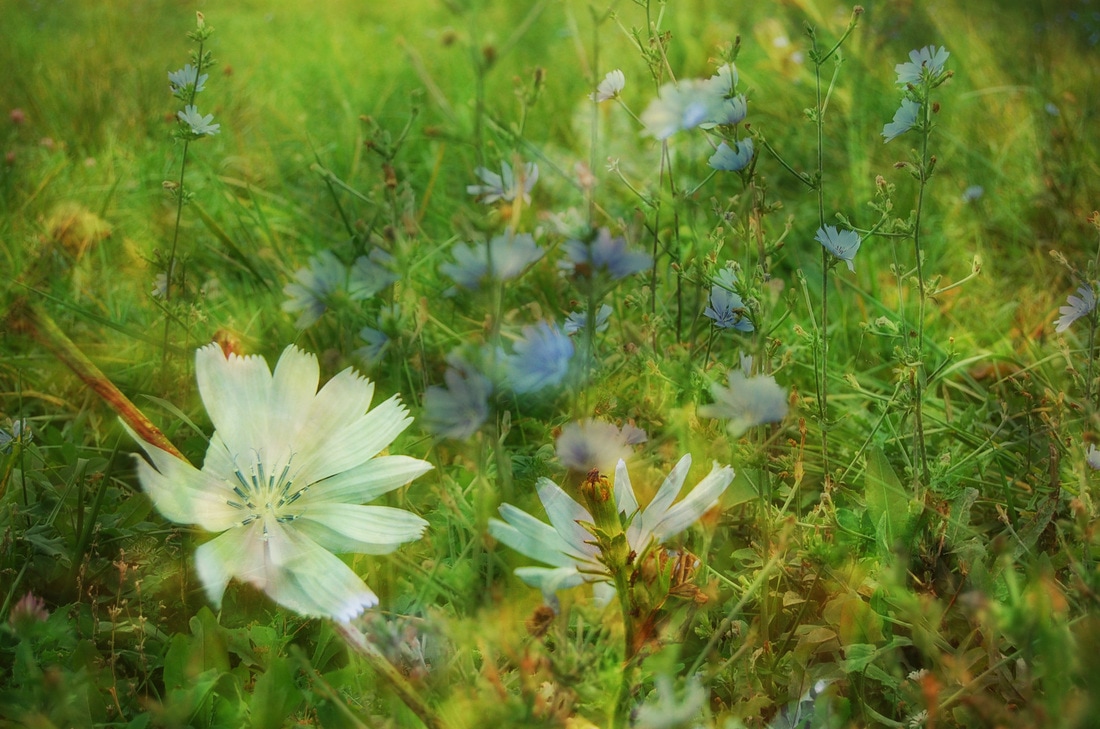
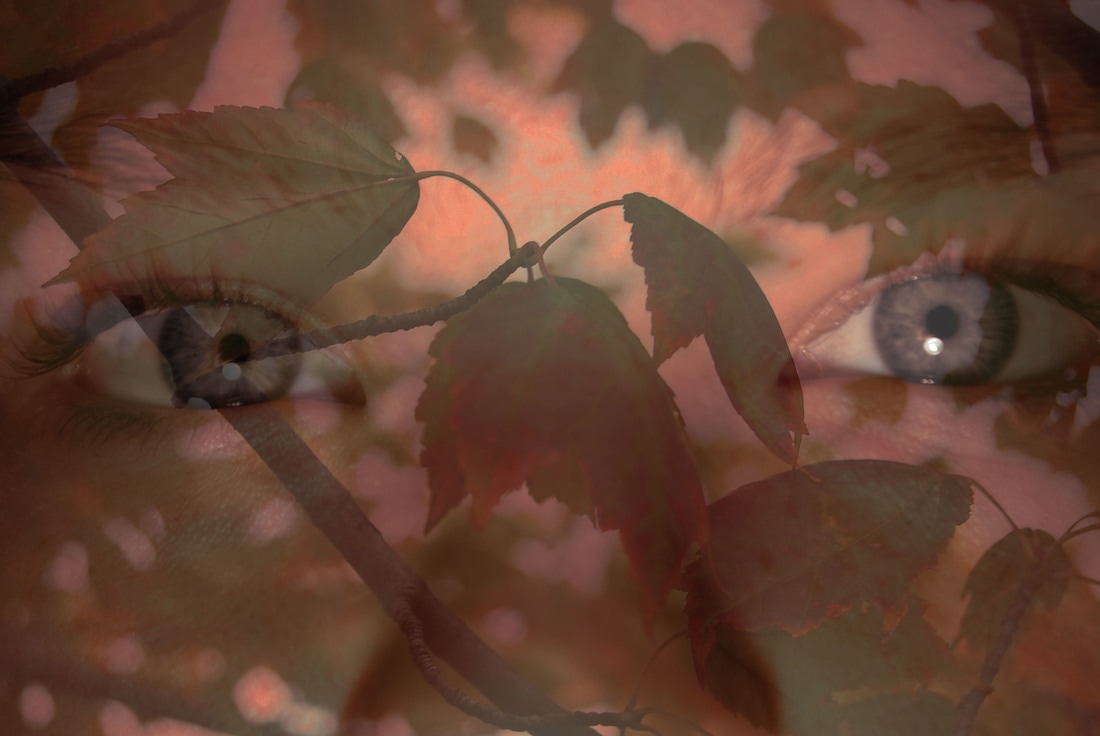
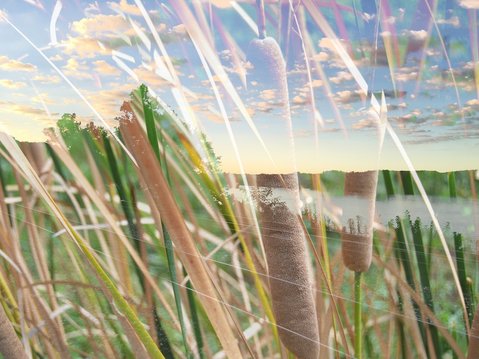
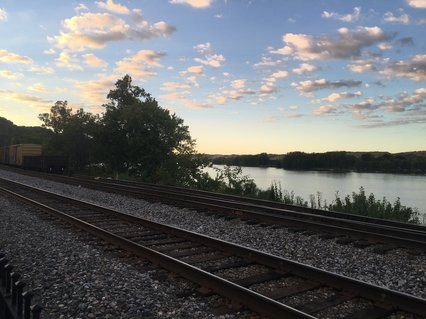
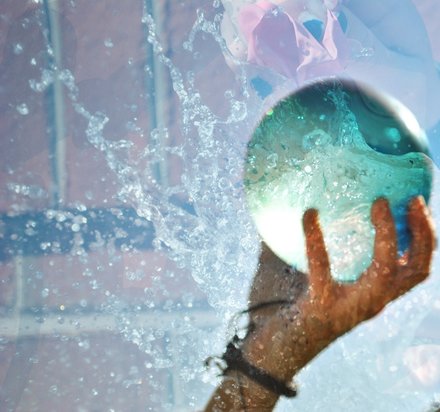
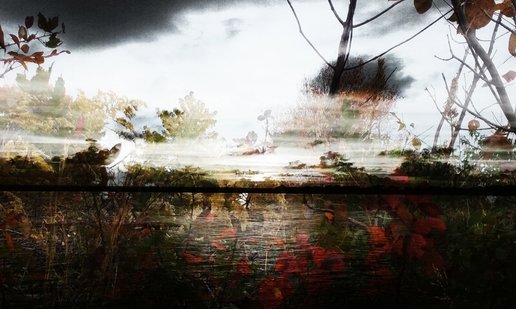
Double Exposure: In photography and cinematography, a multiple exposure is the superimposition of two or more exposures to create a single image, and double exposure has a corresponding meaning in respect of two images. This lesson is going to allow you to merge two images together that have similar meaning or content. Maybe the two images combined together tell a story.
Assignment:
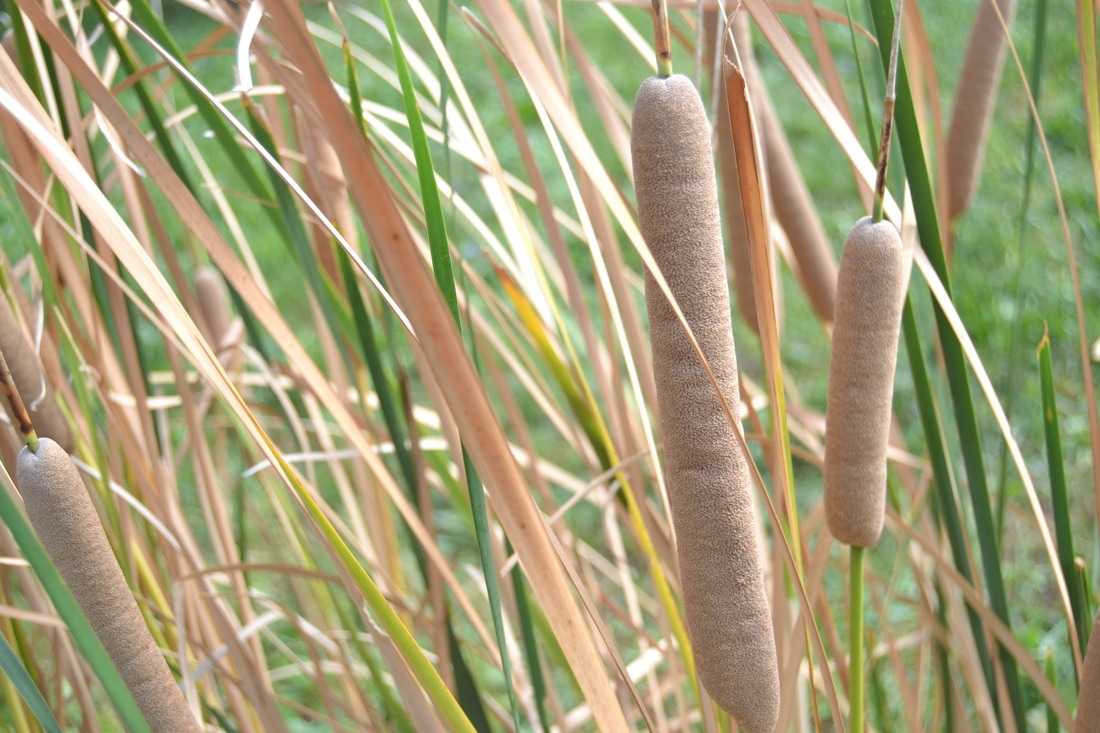
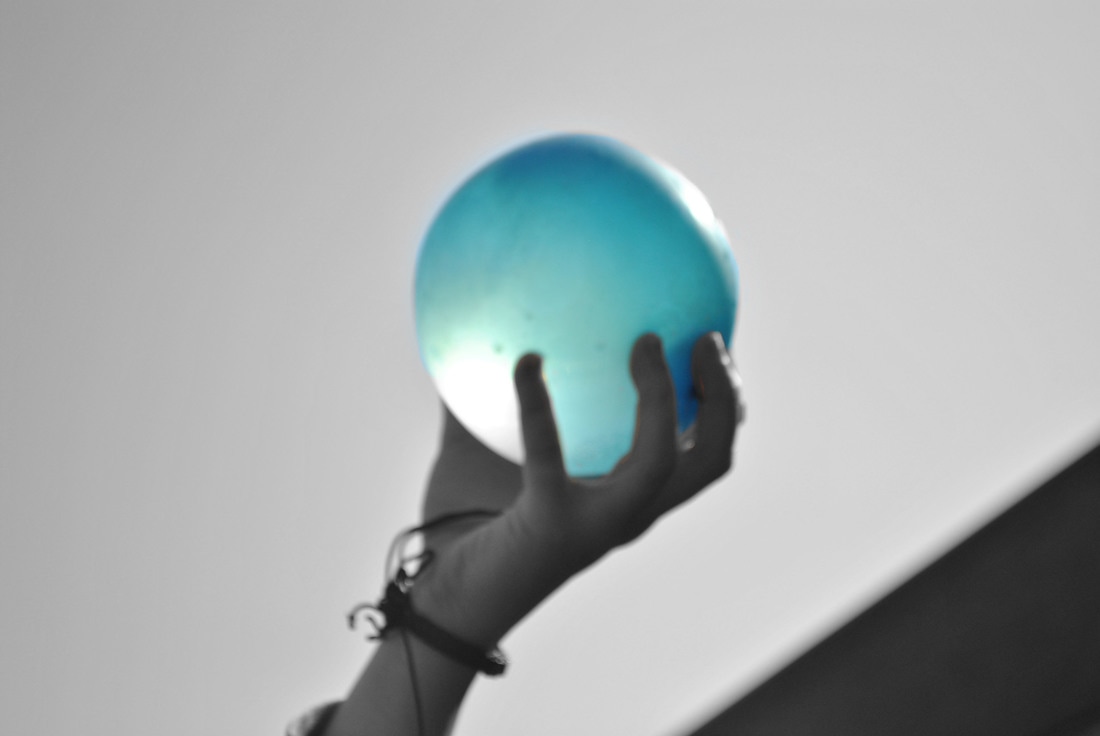
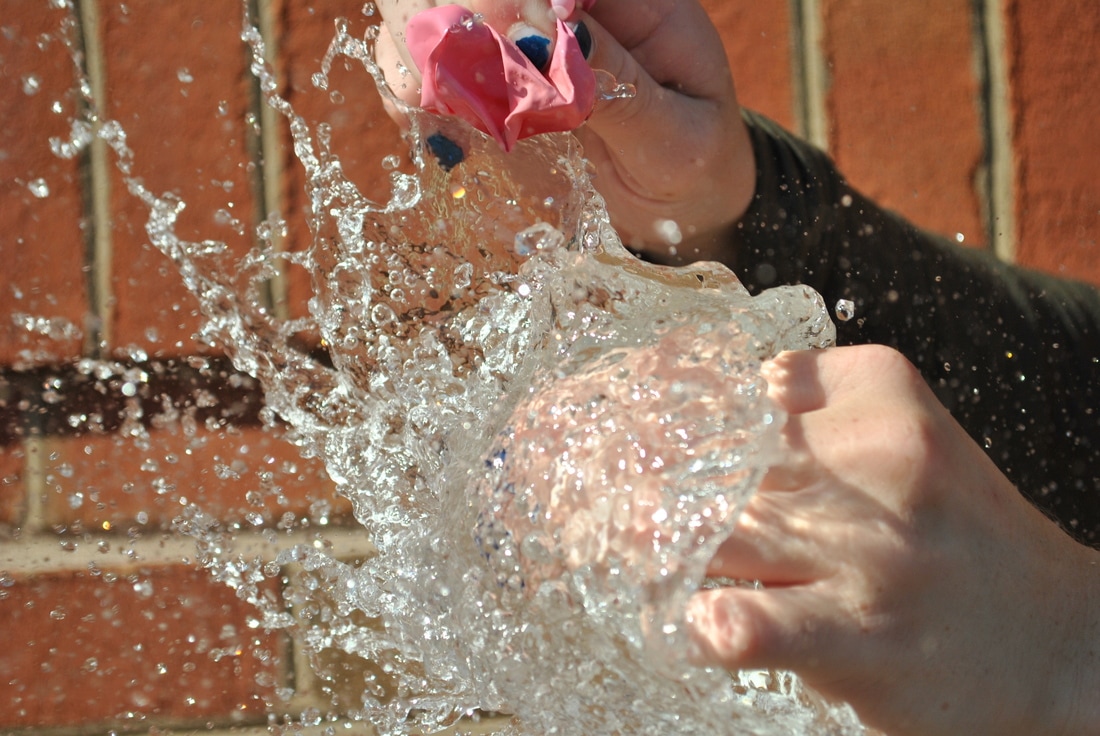
Visit the link below to read and gain a solid understanding of the compositional strategy of creating a double exposed image. Then create your double exposed image from two photographs that you have taken that have a similar theme, content, story, etc.
Lastly, post your three photographs (two originals and one final double exposed image) to your class assignment page on your website. Title the assignment: Double Exposure. Post Your URL to Canvas.
Link: blog.photoshopcreative.co.uk/blog/tutorials/6-steps-to-a-double-exposure-effect-in-elements/
*Here is a document version of the link (in case you have trouble getting the link to work in class...). You can print out as well, use printer HPL286 -NOT HPC (that's the color printer)
|
|
|
|
Double Exposure Assignment in Photoshop
To create a Double Exposure in Photoshop, you will want to find two photos that are compatible. This may be more difficult that you might first imagine. Here are some tips:
*Try out a variety of photos. Like clothes in a dressing room, sometimes things look better together than you think…and some that you’d think would work look terrible together! :)
*Try finding photos that have differing value range. If both photos are overall light in color, they might not stand out together.
*Try finding photos that combine to tell a story or have a compatible theme/story. Both images should have the same dimensions (both tall or wide photos).
*Try adjusting the contrast higher in the photos to help show more differentiation between the photos.
*If one photo is smaller, you can adjust the image size of the other smaller so they are more compatible. If you try enlarging the photo too much it can get pixelated, so shrinking the larger photo might be a better option.
To do this: go to Image, Image size, and adjust the dimensions in pixels. They do not need to be exactly the same, but similar. Make sure that “constrain proportions” is checked. Adjust the larger image to the smaller photo’s height and the depth will automatically adjust in proportion.
Adjust the size of a photo over another by clicking Ctrl+T or clicking “show transform controls” up top.
*Try flipping a photo if things don’t quite line up. Sometimes the objects in the photos compete for space…reversing a photo left to right can help (go to image, image rotation, flip horizontal)
*Working in black and white might help “see” the photos more clearly at first. You can always remove the layer later on.
To Start!
1. Open both photos in Photoshop.
2. Move one photo over to the other. Ctrl+A to select the image. Mover tool to move it to the other photo.
Tips!
*If you made changes to a photo, flatten the image so your changes move along with it.
*Try moving photos both ways (photo #1 onto photo #2, photo #2 onto photo #1) The overall effect will look different depending on which one is the background layer
*increase the contrast
3. Create the Double Exposed ‘look’ using the options below. They are not in a specific order, and may not need to use all of them. These are suggestions of how you can use Photoshop tools to best create your Double Exposed Assignment.
A. Use the different blending options on your photos. This is very trial and error, so it can take some time. You can add a blending option to BOTH photos or just one.
To blend the layers: go to the spot in the layers column where you see the word “Normal”. Click the arrow to see all of the options. Whichever layer you are on, it will adjust to the option you choose.
B. Try different opacities of layers. By adjusting the opacity of the layer, you can increase or decrease the amount of layer that you see. Go to the layers column and click the Opacity arrow; drag and adjust the amount you’d like to have.
C. Save multiple versions of the project! If you feel like a version of the photo is working, but you want to keep trying different option…go ahead and save it as a PSD, and keep working. That way you still have the earlier version of the photo, but you can keep tinkering. Each time you do something different, save it as a different file. When you are finished, compare and decide which your favorite!
D. Try out a filter. Adding a filter can give a fun twist (literally) to the photo. It can add movement and emphasis to the images. I’d recommend playing around with the filters on just one photo to get an idea of what they do before adding to your project.
To add a filter: Go to the top toolbar, click Filters, and choose an option. Play around with it is my best advice!
E. Add a layer mask on the top photo. *REMEMBER* the objective is NOT to move an object or selective remove all but one object from the photo! The objective a layer mask here would be to help you allow more of the bottom photo to come through.
To select a layer mask: click the layer mask tool at the bottom of the layers column
Tips with the Layer Mask:
Black over white=remove the layer; white over black=bring back the layer
Use a soft brush. Brush options will appear on the top bar when the paintbrush is selected *Adjust the Opacity of the brush down so that you are not completely removing the image, but rather fading it out Vary the size of the brush using the brackets keys. Zoom in on the photo to get up close and fine tune the edges. Ctrl +/-
4. Completed?? When completely finished save as a Photoshop (PSD) for just in case purposes!
Then flatten the image (under layers) and save as a Jpeg.
*If the size is too large for weebly, change the image size down and save again. (I can help with this) Go to Image, image size and adjust the image dimensions in PIXELS smaller. Make sure the “constrain proportions” box is checked. Adjust one dimension smaller and the other will automatically adjust.
5. Post the originals with the final project on your page.
6. Submit to your webpage URL under Double Exposure Assignment on Canvas
You will be assessed:
choosing two photos that work well together, share a common theme or tell a story
following the steps of the assignment
effort put into combining the photos in a compositionally interesting way
craftsmanship of finished piece
Post the original photos and the final project
Links to examples of Double Exposure:
inagblog.com/2014/01/antonio-mora/
hk.localiiz.com/past-meets-present-two-takes-on-double-exposure-photography-in-hong-kong/#.WCPCqC0rKpo
inagblog.com/2014/01/antonio-mora/
hk.localiiz.com/past-meets-present-two-takes-on-double-exposure-photography-in-hong-kong/#.WCPCqC0rKpo
|
|
