Hockney Inspired Collage Project
|
|
|
|
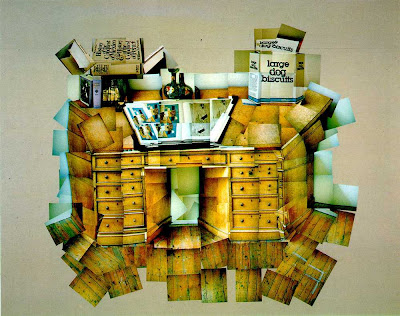
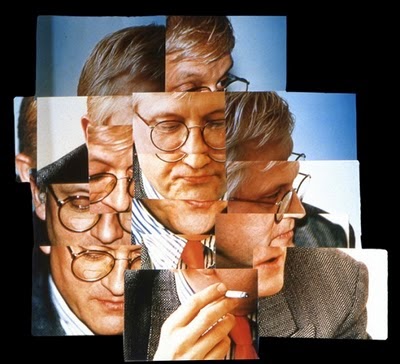
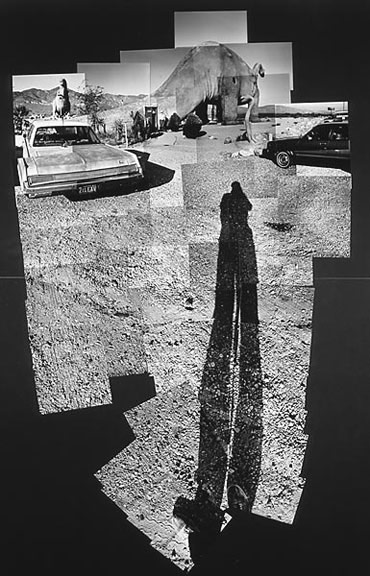
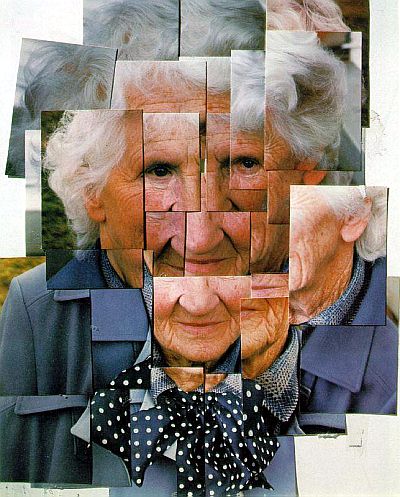
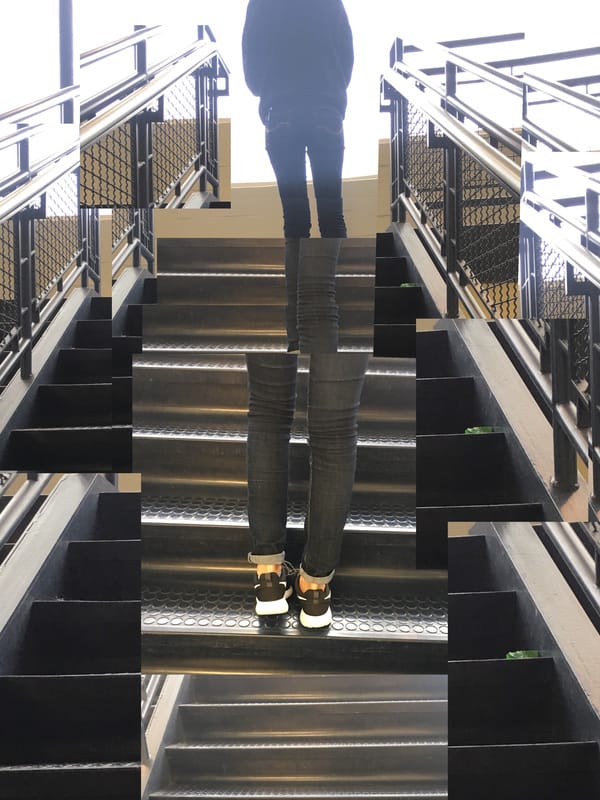
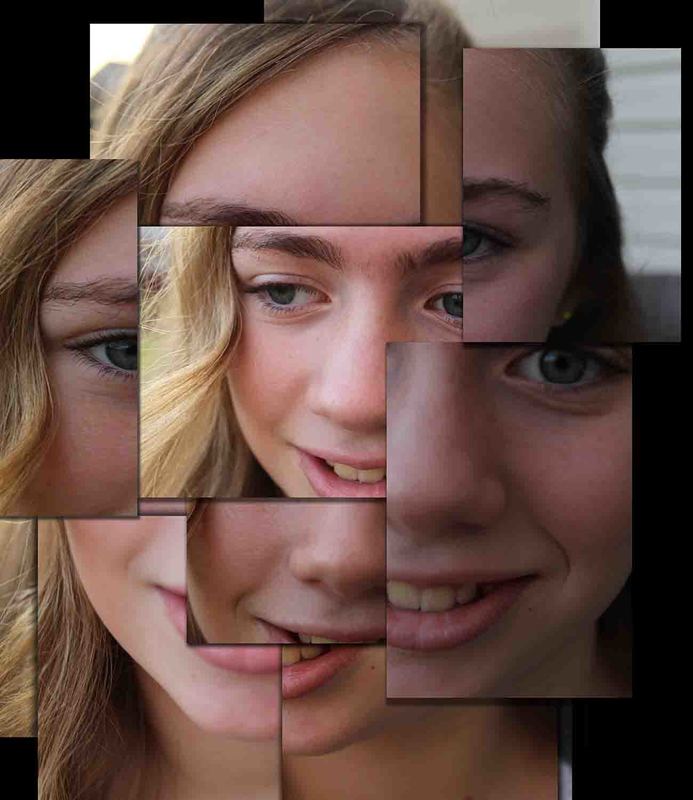
David Hockney was known for a variety of different media work over his career as an artist. One particular style that he became known for was his photo collages. See some examples above.
We will take a ton of photos of one object/person in a multitude of ways. Take A LOT!!! (Like 30+) Zoom in, zoom out, get slightly different angle- keep in mind that you are never taking photos of the entire subject in one photo. Rather, the individual photos are small parts of the subject matter that will collectively create the entire piece of artwork. Look at the examples above- the one piece of artwork is made up of dozens of individual photos.
Step One: Taking Photos
General Tips:
-Allow very little background
-check for good exposure prior to taking photos- that is a lot of photos to fix after the fact!!!
-change the direction of your photos (tall vs. wide)
-slightly change the angle in which you take the photo; zoom in or out a bit
If taking photos of a portrait
Option A:(person or animal!) stay focused on the face- taking individual shots of each part of the face. Maybe allow the person to slightly change the angle of their face (turned slightly) or even the emotion they have. Leave very little background if any in each shot. Have good lighting, focus and exposure!
Option B: (person or animal) capture the entire person in a pose- snap photos of individual parts to capture the entire pose. Work your way slowly across the entire scene.
If taking photos of an object- the object should have interesting detail and texture. If it is too plain, then your pictures have very little chance of being anything but plain as well. As above, allow the shots to overlap slightly, zoom and out. You can move your position slightly left, right, up or down while taking the photos. Zoom in and out. Leave very little background if any in the photos. Have good lighting, focus and exposure! **DO NOT take photos of flat/2D objects (like a sign on a wall).
Step Two: Prepping for the Collage
*Look through windows photo viewer to preview all your photos. Open about 10-15 photos in Photoshop that you think you would like to work with on this project. It might help to write down on a log which photo numbers correspond to what facial features for use later or change their names. Trust me on this one! Students from last semester would highly recommend this!!
*Edit photos BEFORE starting the collage process! Do you need to adjust brightness, sharpen, crop? Do this first flatten the layers (go to layer and click on flatten image). **If you try doing this in the collage, it can be a real pain!
|
|
