Lighting with Hands Due 3/17
Click to see: hand examples of lighting
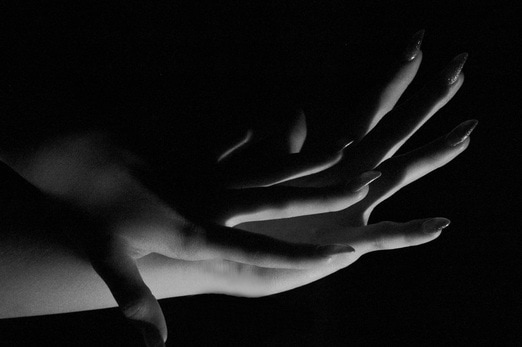
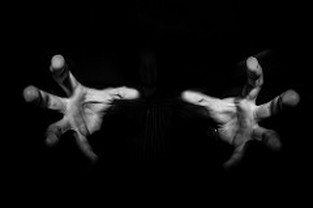
Photographing Hands with good lighting
Lighting can make or break a photo. Underexposed photos look grainy, but contrast and shadows with proper lighting can make a photo very dramatic! Try out different lighting using the lights in the back rooms- this is not an assignment that can be completed in the hall ways. The lighting should not be so strong as to create burn out (overexposed areas) or so low that it gets grainy. This will take some effort and practice, trial and error. Once you have the lighting figured out along with the exposure on the manual camera, take photos of someone's hands in different gestures (keep it clean please ;) ). It can be one hand or two hands. You can add a simple prop or a portion of the person's body in the photo. You cannot use the photo from any other assignment as one of your photo submissions for this assignment. Check your exposure each photo and make adjustments on the camera or to the lighting. Take LOTS of photos!!! Don't quit until you have successful photographs.
Assignment criteria:
Photos are...
- Well exposed/ not grainy
-In focus
-Value contrast from the lighting in the photo (the range of lighting from black to white)
-photos have nice lighting that enhances the composition of the photo
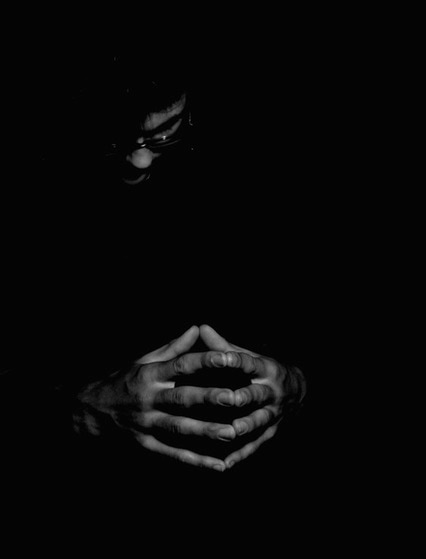
**the composition is interesting and thought out (including background- which I suggest is simple- possibly solid black)
-the composition "tells a story" with the arrangement of the hands and lighting
Submit 3 good quality photos!
Tips to Taking Good Photos:
-keep the lights ON! Believe it or not, most of these photos had the normal class room lights on! Look at the example link HERE for settings with examples
-get your settings figure out by checking and retaking. Check on the computer intermittently to make sure photos are not grainy, have good lighting and focsus. That little LCD screen can be deceiving!
-Have the stronger light source indirectly lighting the hands- directly lighting the hands can lead to burn out spots on the hands. Instead, have the light slightly above/below/to the side of the hands to give lighting without giving a burnout spot.
-do not use a high ISO. Instead, follow the examples I gave on the example page to help you set up your camera.
Suggested settings:
ISO 200
Aperture F4-8 (depending on the amount of focal range you want)
Shutter is dependent upon the Aperture setting, but somewhere around 1/100-1/200


|

|
|
